Jet API Integration Setup
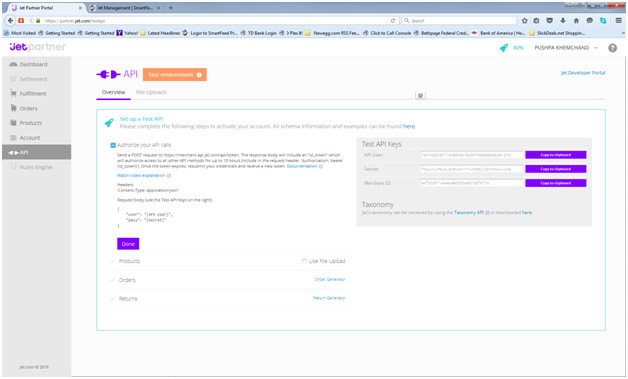
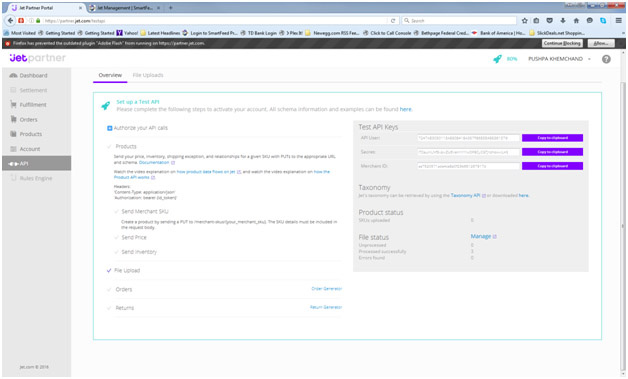
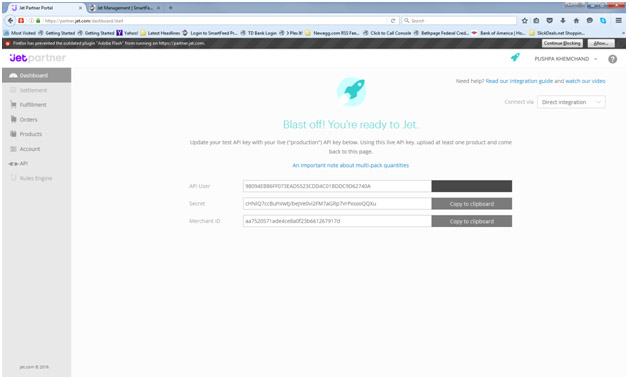
1) Within the Jet Partner Dashboard, click on API, and locate your test Keys and enter them in your Jet Management Step 1: Configure Jet Feed You will first need to enter in the api user id, secret key and your merchant id.
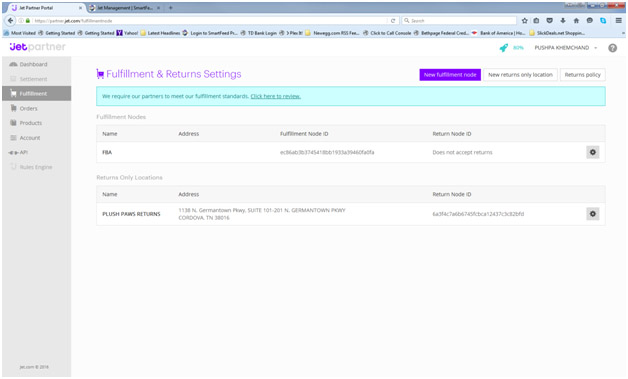
2) Enter in the fulfillment node id under Fulfillment. You will need to select the appropriate fulfillment, or create a new fulfillment.
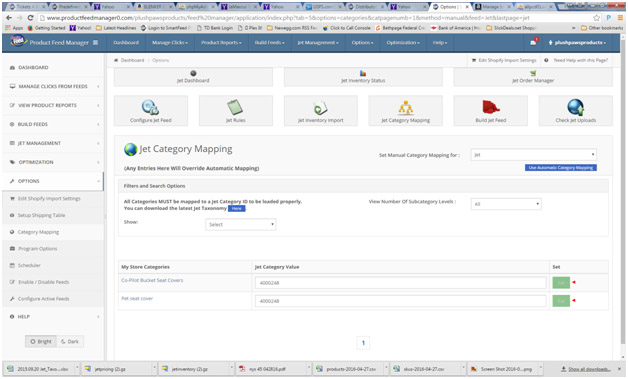
3) You will need to assign your products to the appropriate Jet categories before you can upload a product successfully.
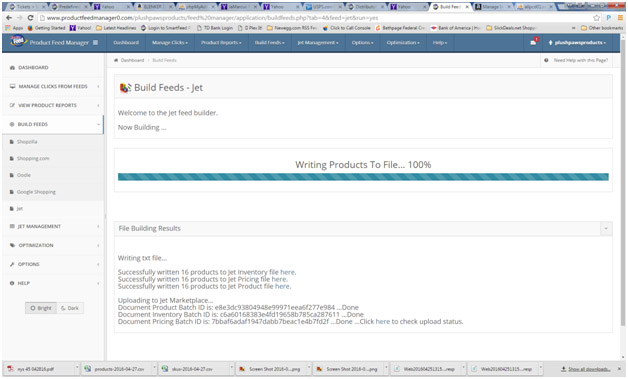
4) Click Build Feeds and write a new feed to Jet Also Click on the Link on the Build Feeds Screen to send One Product to Jet. It says (Use in test mode).
5) The Jet API screen should now change to go to the Orders step.
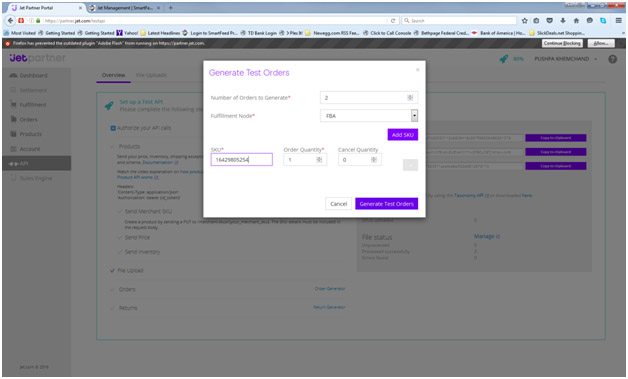
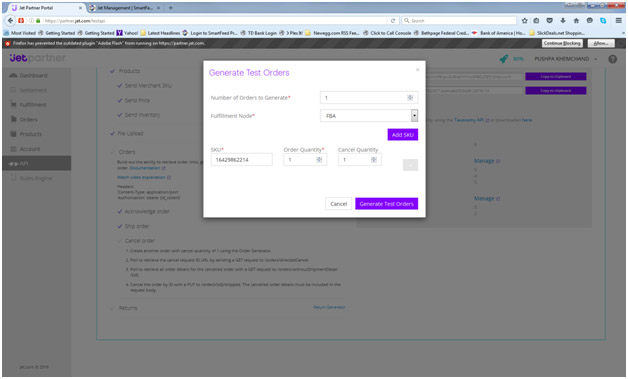
6) Generate A test order by clicking on the Order Generator. Go to the Products section first to locate one of the skus that you want to test with.
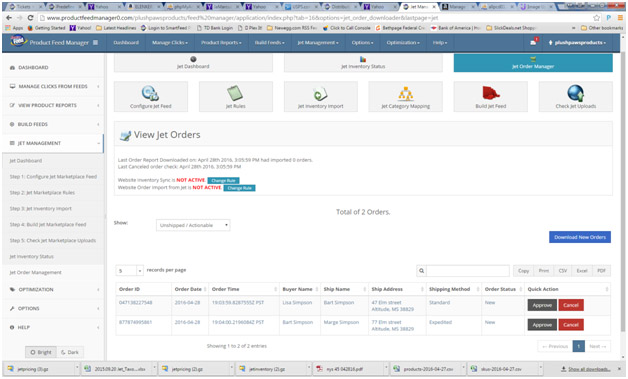
7) Next, click on the Jet Order manager, and click on the “Download New Orders” button to import the new test orders.
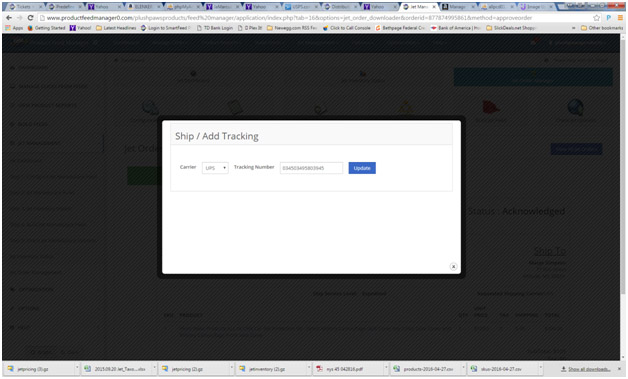
8) Click on approve for an order. Once an order is approved, it can not be canceled. Next, click on Ship / Add Tracking. Enter in a tracking number.
9) Next you will need to test being able to cancel an order. Click on The order generator. Enter in Sku info, and enter in a cancel quantity of 1. Then click the Generate Test Order.
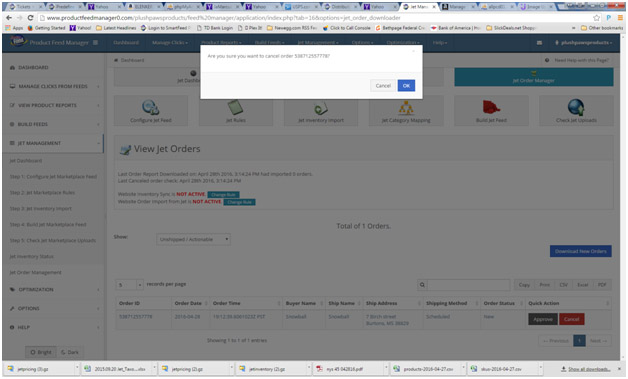
10) Next go back to the Order Manager, and Download the new order. This time, click on the Cancel Button. Click the ok button to cancel.
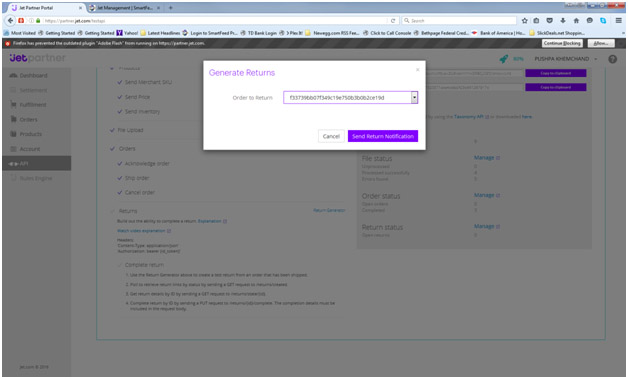
11) Now, we will need to test returns. To do this, go to the Returns Generator on the API screen. Choose an order to return. Click on Send Return Notification.
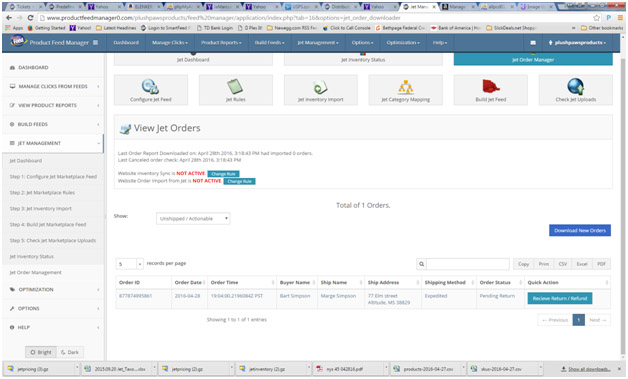
12) Back in Order Manager, click to Download New Orders again…. This time you should see the return request. Click on Receive Return / Refund
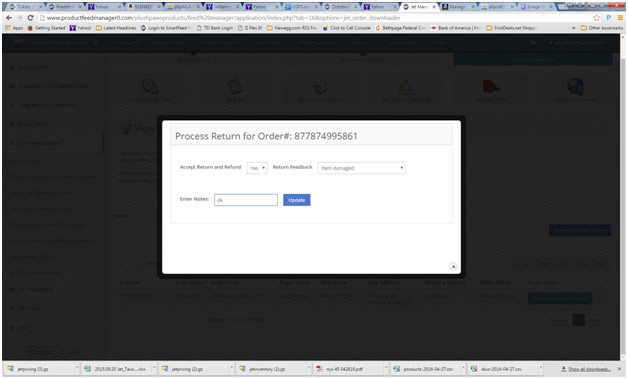
13) Process the return with some information. Click update.
14) Lastly, click back on the Jet Partner Portal. Click on Dashboard. All items should be checked off, and after a few seconds, your new active API credentials should appear. Copy them and enter those in Configure Jet Feed and clear out the old test ones.
15) Next have one of our account representatives clear out your testing database. You can now proceed to upload new products to Jet.
